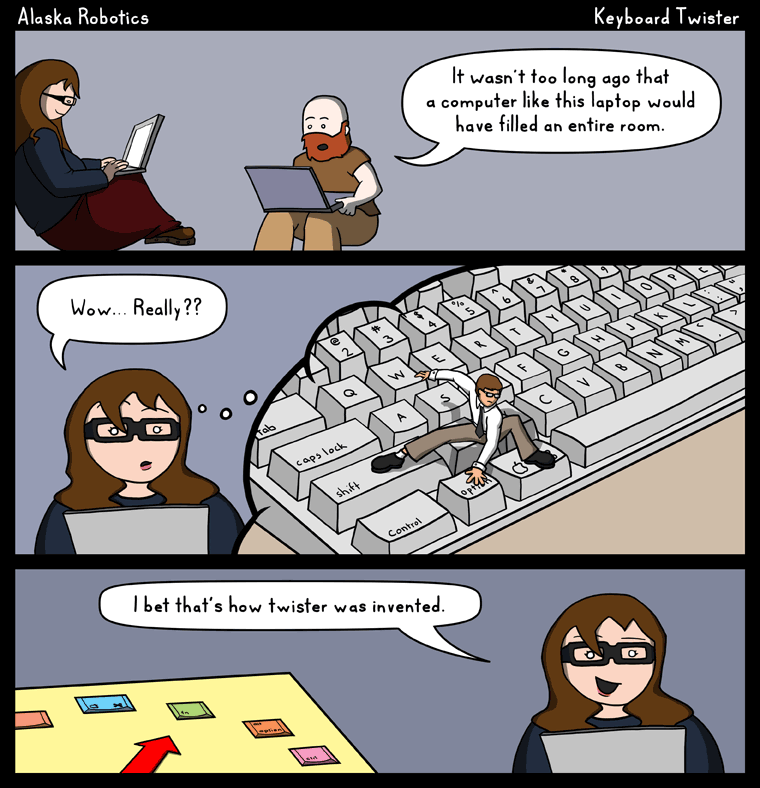
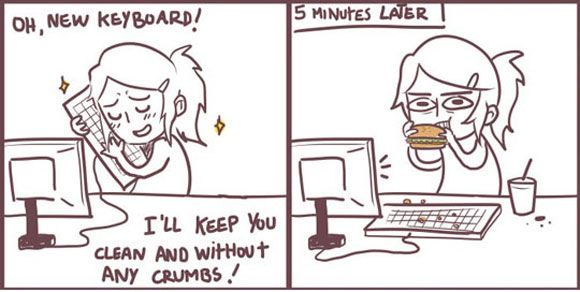
 Keyboard shortcuts help you do common tasks faster on your computer. Not just that, it makes you look like you are a pro at what you do
 ![]() . Knowing how to get the job done using shortcuts can save you a lot of time in the long run. Because it takes time to switch between typing and moving your mouse.
. Knowing how to get the job done using shortcuts can save you a lot of time in the long run. Because it takes time to switch between typing and moving your mouse.
In this article I’ve listed 14 Windows Key Shortcuts Which You Should Know and these shortcuts will help you perform tasks faster than before,
14. Windows + L
Windows + L lets you Lock your Computer. If you have password protection enabled on your computer then you’ll have to enter that password again to return to your desktop. Else you don’t have to enter any password. Locking is different from Logging off or signing off from your computer because, when you lock the computer all the process which are running on your computer will continue to run. Yes that’s right. This means that you can play music or a video and let it play in the background when your computer is locked. Or, start a download and let it run in the background when your computer is locked! Neat right?
13. Windows + ↓ / ↑/←/→
This group of shortcuts is used to manipulate the currently open window.
- Windows + ↓ This is used to restore down the currently open window if it is maximized. And to minimize a restored window.
- Windows + ↑ This is used to maximize the windows that which you minimized using Windows + ↓. Using this one more time, maximizes the window.
- Windows + ← This is used to dock the currently open window towards the left side of the screen. Using this one more time takes the current window to the right side of the screen when there is a single monitor on your computer. And to the next screen when there are multiple monitors on your computer.
- Windows + → This is used to dock the currently open window towards the right side of the screen. Using this one more time takes the current window to the left side of the screen when there is a single monitor on your computer. And to the next screen when there are multiple monitors on your computer.
12. Windows + M and Windows + Shift + M
Windows + M is used to Minimize the current window. Windows + Shift + M is used to Maximize the previously minimized window. These shortcuts are different from the previous set of shortcuts because these shortcuts can’t be used to dock the window to the right or left side of the screen.
11. Windows + U followed by Alt + K
Windows + U opens up the Ease of Access Center which is a Control Panel Item. And using Alt + K followed by that will open up the On-Screen Keyboard. Why use the On-Screen Keyboard, when you have a keyboard with you?, you might wonder. Well, if you are running on windows 8 or windows 8.1, you get access to smileys on the On-Screen Keyboard. And if you are on Windows 10, you don’t get access to smileys but still you can use it to type special characters which might not know. For example I did not know that I can use the Right side Alt + Number 4 (above qwerty pad) to type the Rupees symbol (₹) when using the Indian Keyboard.

10. Windows + Space
Windows + Space lets you switch between different keyboard languages on your computer. This is applicable when you have setup multiple input languages on your computer.
9. Windows + Tab
Windows + Tab is used to switch between the open windows in windows 10, windows 7, windows vista but not in windows 8/8.1. An alternative to this is to use the Alt + Tab shortcut key. This shortcut is pretty handy while doing multitasking, where you often want to switch between multiple windows.
8. Windows + Pause
Windows + Pause or Windows + Fn + Pause (for laptops), opens up the System Information Screen of your computer. On this screen you can check the version of the operating system, the processor, RAM, System type of your computer and if your computer supports Pen or Touch Input. You can also see the network name of your computer here.
7. Windows + + / - and Windows + Esc
This group of shortcuts is used to start the Magnifier
- Windows + + (or the = key) This is used to start the Magnifier. Pressing this multiple times will increase the amount of magnification.
- Windows + - This is used to decrease the amount of magnification when the Magnifier is open.
- Windows + Esc This is used to exit from the Magnifier.
6. Windows + P
Windows + P brings up the Projection Settings. From here you can use the arrow keys or mouse to select from the available options. Note that these options have no effect unless your computer is currently connected to a projector or a secondary display. And when you connect to the secondary display, each of the options will have their own effect as follows,
PC Screen Only: Use this is when you don’t want to display anything on the secondary screen. Duplicate: Use this when you want to show on your secondary screen, exactly what you see on your primary screen. Extend: (Recommended) I recommend this option because when you extend your screen, you don’t show your desktop icons on the second screen. And you can use your computer screen to open those windows which you don’t want to show on the projector. Second Screen Only: Use this when you don’t want to use your primary display for any task.
5. Windows + D
Windows + D shows the Desktop. Pressing this again will open up previously active windows.
4. Windows + R
Windows + R brings up the Run Dialog Box. Here you can type the name of a program, folder, document, or Internet resource, and Windows will open it for you. Some of the basic things that you can run from here are: chrome - opens Google Chrome firefox - opens Mozilla Firefox notepad - opens Notepad wordpad - opens Word Pad mspaint - opens Microsoft Paint regedit - opens Registry Editor (for Advanced Users) explorer - opens Windows Explorer taskmgr - opens Task Manager www.multishiv19.com (or any URL) - opens that URL in your default browser And many many more, I’ll leave it to you to find out more about the things you can run from the Run Dialog box.

3. Windows + E
Windows + E is a very useful shortcut. It opens the File Explorer, also known as “My Computer” or “ThisPC”.
2. Windows + 1 - 9
Windows + 1-9 This is the shortcut for Quick Launch on Windows. You might be having many programs Pinned to your Task bar. Well you must be astonished to know that Windows + 1 will launch the first program that is pinned on the taskbar. And similarly Windows + 2 will launch the second program, and so on. You can pin up to 9 programs on your taskbar which can be launched using this shortcut.
1. Windows + X
Windows + X , I call this the Super Menu. I saved this the last because this shortcut can perform most of the above shortcuts plus give you access to other shortcuts which are not listed above. All you have to do is Press Windows + X, then choose the desired option by pressing the key which is underlined in that option. For example. If you want to access Programs and __F__eatures from that list, note that ‘F’ is underlined, so you’d press Windows + X followed by F.
Bonus: Windows + Ctrl + L
Since you read through the entire countdown, here is a Bonus Shortcut for you, Windows + Ctrl + L will place the cursor on the address bar when you are using a web browser or a file explorer! So from now on wards, when you want to copy the URL of the current website, all you have to do is press Windows + Ctrl + L followed by Ctrl + C (for Copy).
I hope you enjoyed learning all these shortcuts as much as I enjoyed sharing them with you.
Do you know any Windows Key Shortcuts which I did not list here?
Do you have any doubts regarding the Windows Key Shortcuts which I listed in my article?
Do you want to share any incident where these shortcuts helped you?
Let me know in the comments below! ![]()